What is file templates? #
When creating new files in ProVide you have the option of creating it based on an exsisting template. These templates can be anything from a word document with your company signature already added to an excel with premade columns. To add these templates you need to have admin access to your ProVide server.
Adding file templates #
To start adding your own templates, go to your ProVide folder and find the templates folder. If one doesn’t exist you may have to create your own folder with the name “templates”. From here you can start adding your own premade files to the folders to be used as templates. In the case of this guide we will be adding an excel-file named “marketing” to my templates folder. Once this is done we head over to the admin page.
Applying file templates to ProVide Server #
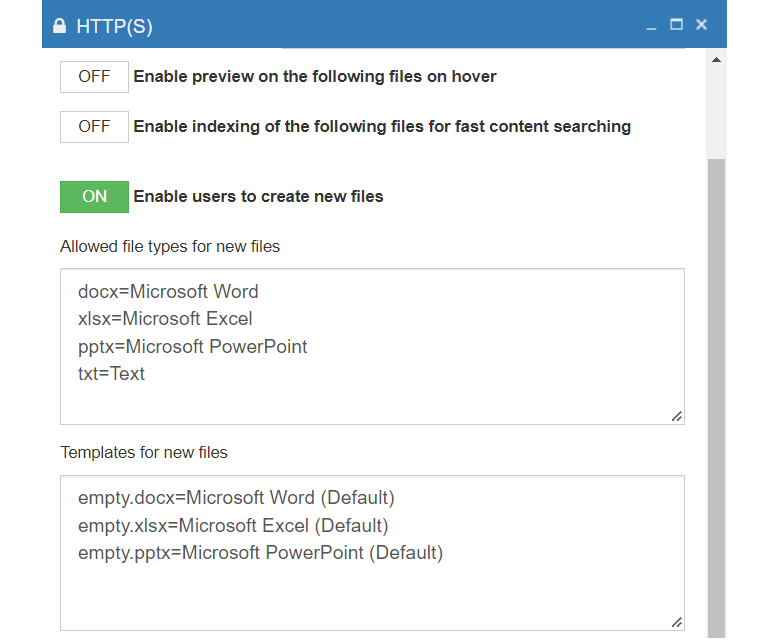
On the admin page, open the “HTTP(S)”-tab. Here you need to turn on “Enable users to create new files” and make sure the file-type you want to add a template to exists in the list for “Allowed file types for new files”. By default .docx, .xlsx, .pptx and .txt are added.

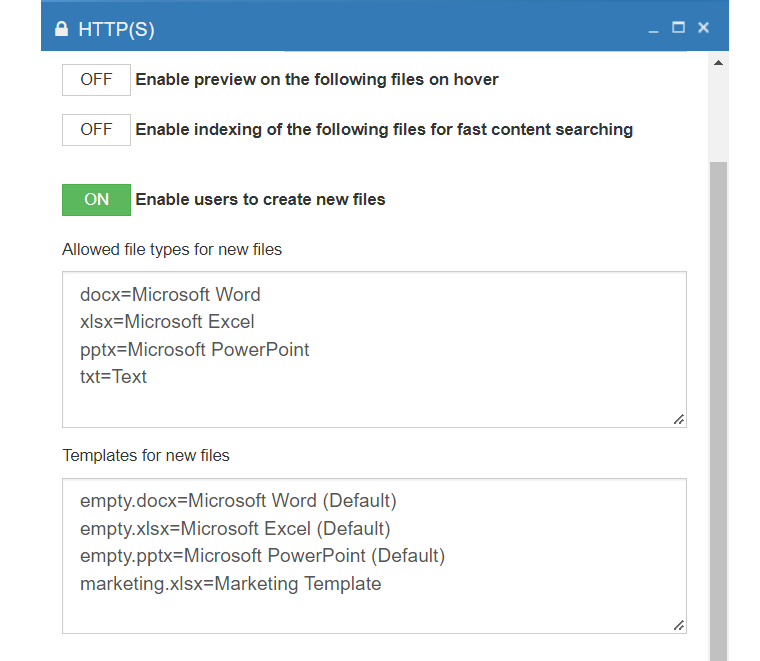
Since excel is already added to the above list we can now add the template to the list below named “Templates for new files“. Here we will simply add the name of the file and the name of the template that will show up for the users in the ProVide Server. In our case we will add “marketing.xlsx=Marketing Template” and then press apply on the HTTP(S)-window. Our settings should now look something like this.

Using the template #
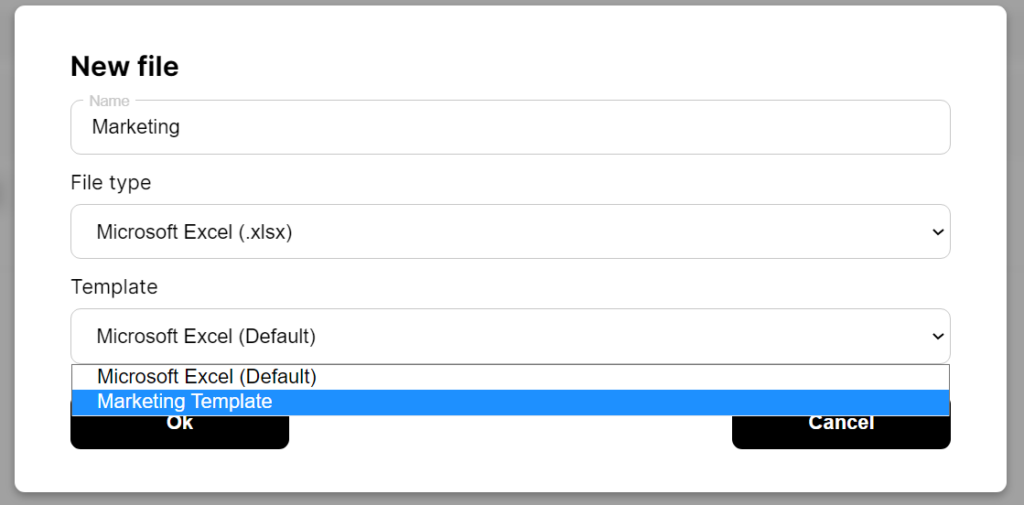
Now to make use of the template we log into ProVide and press the “New File”-button. Make sure we have write access and are allowed to create files in the directory. In the follow dialog we chose “Microsoft Excel (.xlsx)” under “File type” and then select the dropdown under “Template”. We can now find our template “Marketing Template” and use it as a starting point for our newly created file. All that is left is adding a filename and pressing the “OK”-button!


