Here, we will provide you with an example of how you can utilize the customization tools to personalize your ProVide experience. To learn how to set up these customization tools, please click on the following link:
Changing logo #
The initial step is to select a logo you wish to utilize. Once you have chosen one, add it to one of the folders within the “modern” directory, preferably the “svg” or “img” folder. If these folders do not exist, you can create them manually. As an example, we have added an image named “provide_green” to the “img” folder under “customize/modern/”.

Now, we need to apply the logo within the CSS file. This can be achieved by modifying the path to the background image on the “#imagelogo” element in the “customize.css” file. If this value is currently commented out, you can uncomment it by removing the “/* */” before and after the line. After changing the path, it should resemble something like this:

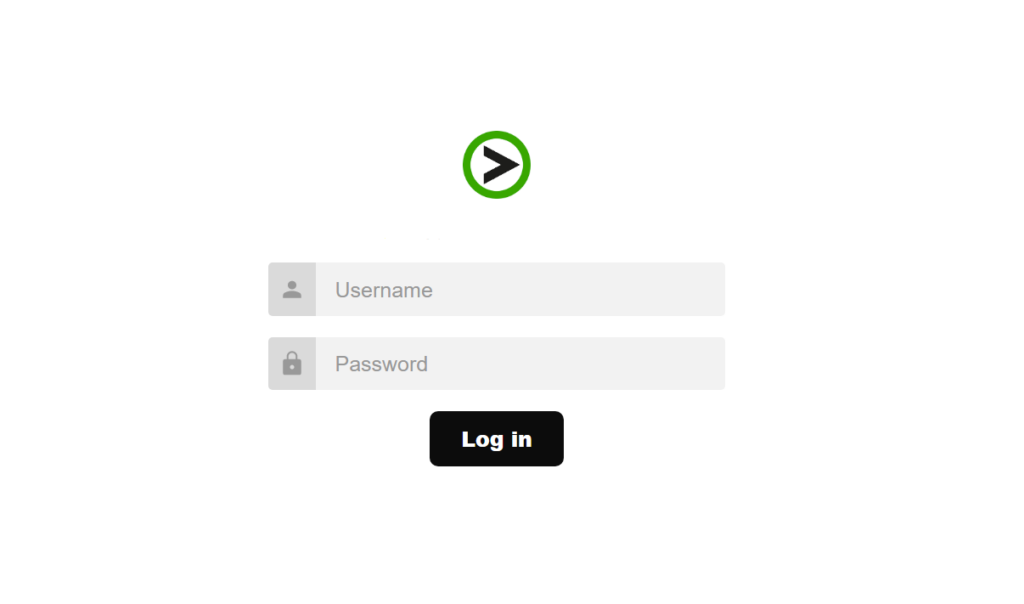
Once these modifications are made and saved, you will observe the changes reflected on the website. In this instance, we altered the image on the login screen. Here is how it appeared after the adjustments:
There, you can observe the new green logo successfully applied!


