Easily receive files straight to your ProVide server #
Receive is a feature of ProVide that allows a user to easily make a link for other people to upload resources to the server which then can be accessed by the sender. The receive feature has support for password protection. Receive supports the restriction on time so that the link may only be used to during certain dates as well as optional restrictions on the number of resources that can be uploaded using the receive link.
Creating the Receive link #
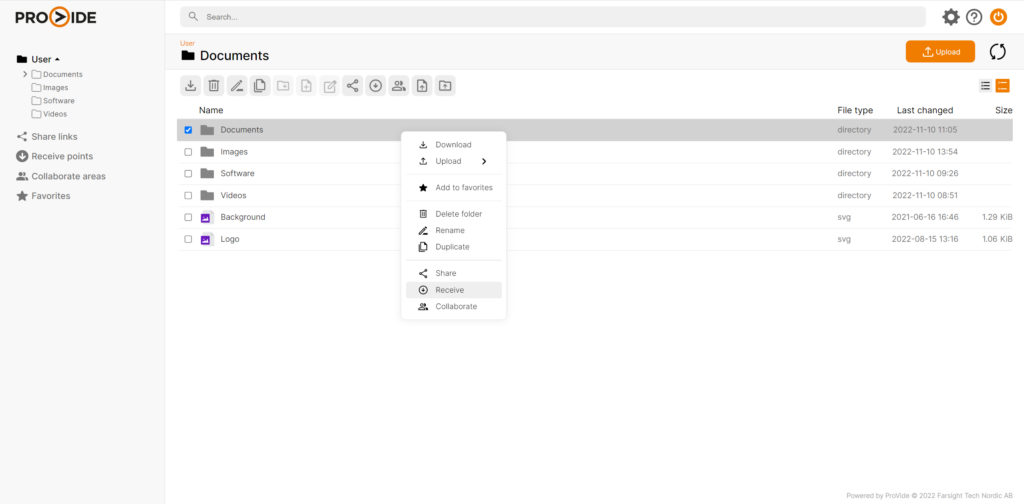
Click the “Receive” button from the header while you’re in the folder you wish the received resource to appear. Note that the share will go to the folder you are currently in when you click share. (If you wish to send a file to someone you may use ProVide’s share feature or if you wish to both receive and share files in a folder you can check out ProVide’s collaborate feature)
Share the Receive link #
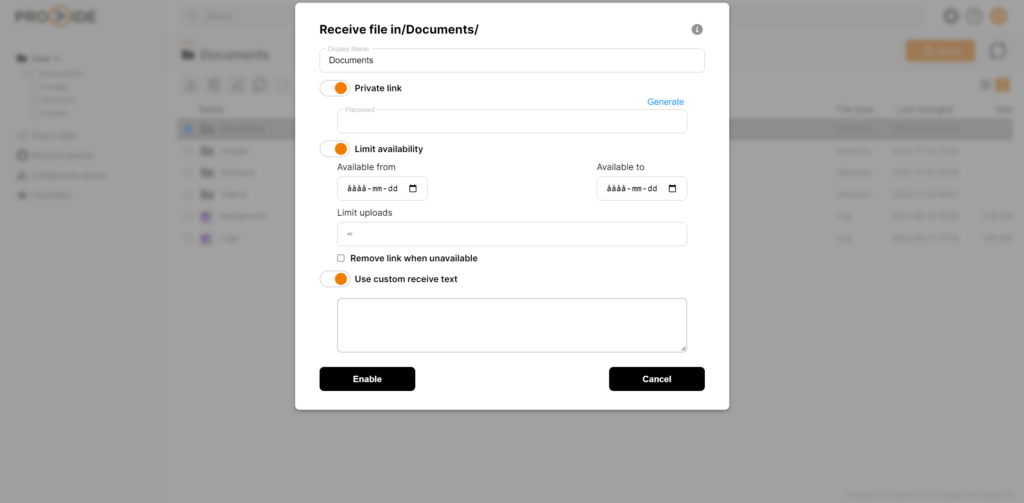
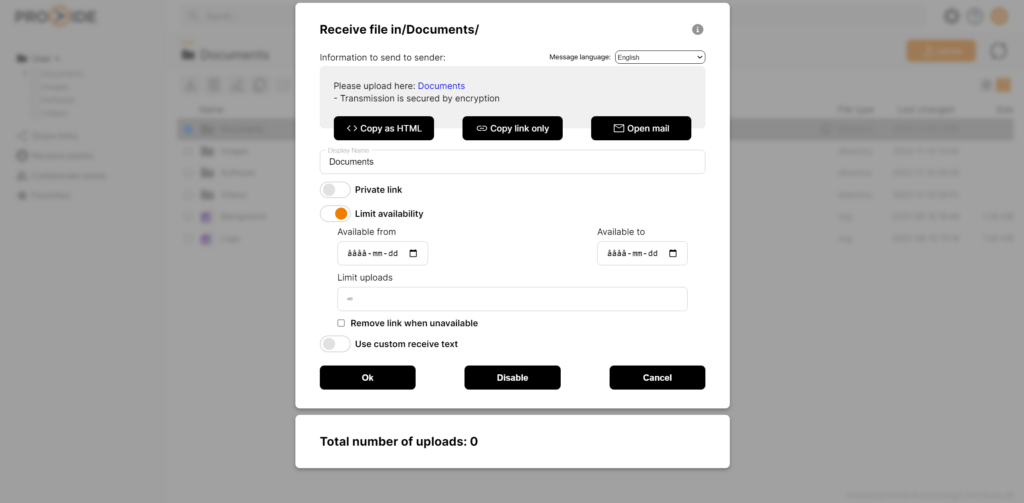
Once you click “Receive” a new window appears with options for the share link. “Private link” setts a password to the share link, specifically used for this receive. “Limited availability” sets a time restriction, making the receive link available only during a certain time interval and/or of resources uploaded. Note that these options are optional, you can simply choose enable if you wish to have a link without password, time or upload restrictions.
Upload resources to the folder #
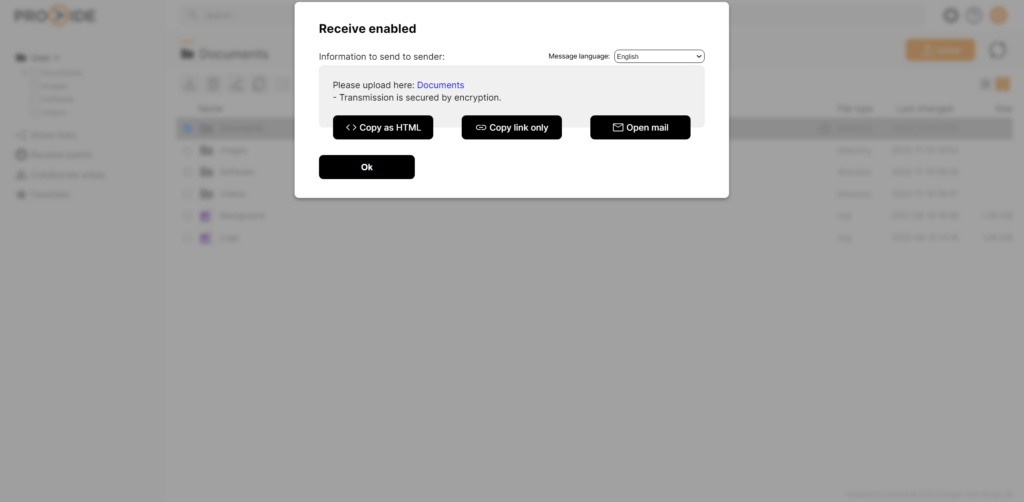
Once you click enable, a dialogue with a link appears, this is the link you use to upload resources to the folder. You can copy this link and use it endlessly (depending on how you set the options in the earlier step).
How to edit settings for the share #
If you wish to edit the options for this receive later and/or copy the link again, you can reach it through “Receive points” on the left. Clicking the tab will open a list of all the folders you’ve made a share link for. Click the specific link you wish to edit. Note that when editing the options for a receive link the link remains the same. By clicking the disable button, The receive link will be disabled and can no longer be used.
Using the receive link #
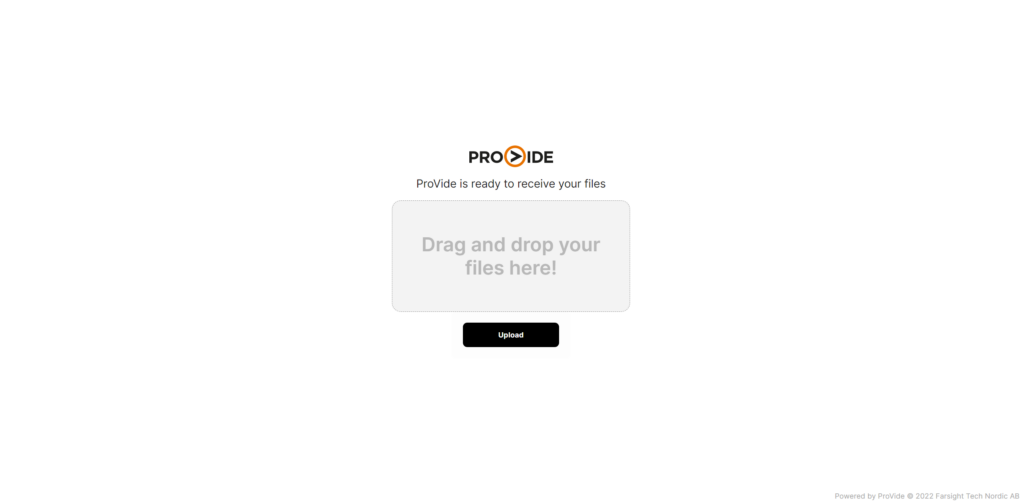
When the receive link is created the only thing you need to do is to send it as a message or by e-mail. When someone attempts to upload a resource using the link they will be greeted with a page letting them know they can upload files and a button to select the resources they want to share or you may drag and drop the files to the web browser to upload them.
Attempting to access a link with password will prompt the user to enter the password before gaining the ability to upload resources. It is not possible to access a link outside of the given date restrictions.
